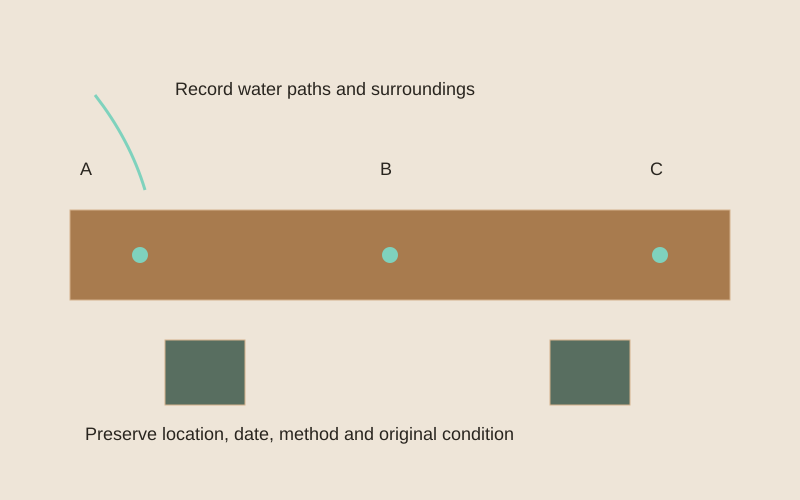
- Locate observations on the component before discussing causes or repairs.
- Record nearby supports, water paths and the timing of changes.
- Sample locations shown are conceptual, not a required sampling plan or instructions to access unsafe areas.
Describe the reported movement
Record what moves relative to what: a board against a support, a clip in a groove, a fastener head, or an entire connector. State whether the report comes from normal use, direct observation, or a previous inspection. Do not deliberately load or shake a questionable assembly to reproduce movement. Photographs should show its location and surrounding components.
Preserve the existing condition
Before tightening or removing hardware, record head position, visible gaps, missing parts, deformation, and accessible support condition. Include product markings and installation records. A quick adjustment can erase useful evidence or change the load path. If the connection has a structural role or its condition raises a safety concern, arrange an appropriate on-site assessment before intervention.
Recover the intended detail
Locate the approved drawing and installation instructions. Compare the actual board, screw, clip, connector, and support with the specified combination. USDA's fastening chapter explains that joints depend on wood properties and dimensional behavior. That context supports reviewing the assembly, but it does not identify the cause of looseness in a specific connection.
List unresolved possibilities
Separate observations from questions about installation, substrate condition, component mismatch, damage, or changed exposure. Ask which information would distinguish those possibilities. An exposed head does not by itself establish stripped threads, and a moving board does not prove a clip defect. Avoid treating a familiar symptom as permission to install a larger screw or an extra fastener without review.
Verify the approved repair
Once the repair method is established, record the components used, any newly exposed conditions, and the completed detail. Identify who inspected or accepted the work and which locations remain unresolved. Retain before-and-after images. If the repair differs from the reviewed plan, document the change instead of presenting a visually tighter connection as evidence that the intended performance has been restored.
Practical checklist
- Identify the parts moving relative to each other.
- Record conditions before adjustment.
- Compare installed components with the intended detail.
- Document the accepted repair and any remaining questions.
Worked example
Hypothetical example: a board moves near a hidden clip. The investigation records the groove and support conditions before choosing a repair, rather than assuming that driving the existing screw deeper will resolve the problem.
Limits of this guide
This guide does not prescribe torque, replacement screw size, added fasteners, or proof loading. Remote images cannot establish connection capacity. A repair affecting structural attachment requires project-specific assessment and instructions.
Continue the decision
Create an evidence record that survives the repair
Choose repair or replacement with an explicit decision record
Build a moisture investigation around locations and repeat readings
Start an investigation