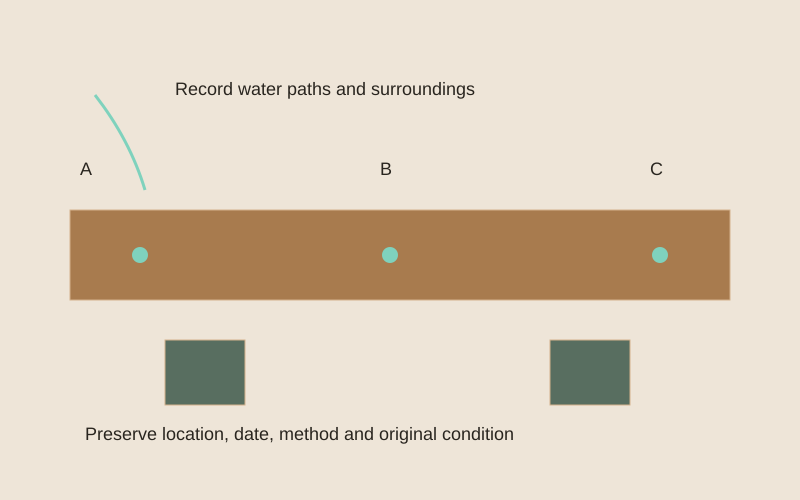
- Locate observations on the component before discussing causes or repairs.
- Record nearby supports, water paths and the timing of changes.
- Sample locations shown are conceptual, not a required sampling plan or instructions to access unsafe areas.
Give the condition an address
Create a simple plan and assign identifiers to affected boards, connections, or zones. Use those identifiers in photo filenames and notes. Photograph the overall area before close-ups so a future reader can locate each feature. Include orientation and accessible reference points without relying on someone to remember which corner appears in an isolated image.
Separate three kinds of statements
Use distinct fields for observations, reported history, and interpretations. An observation might describe a visible gap; reported history might state when an owner first noticed movement; an interpretation might propose moisture as a contributor. Labeling them prevents a tentative idea from becoming a fact each time the report is forwarded.
Build a dated chronology
List delivery, storage, installation, finish application, weather events, cleaning, reported changes, and previous repairs when known. Attach the supporting record where possible and identify recollections as such. Do not fill gaps with a typical construction sequence. The goal is to reveal what can be established and which missing facts could affect the assessment.
Preserve originals and identities
Keep original photographs alongside annotated copies. Retain product labels, instruction revisions, invoices, and sample identifiers. If parts are removed under an appropriate investigation plan, label their locations and preserve them as directed. USDA's separate treatments of moisture, finishing, and fastening are a reminder to collect evidence across the assembly instead of narrowing prematurely to one discipline.
End with decisions and open items
State what the record supports, what remains unknown, and the next action needed. Identify who will obtain missing information and who will assess it. After repair, add the accepted scope, actual materials, newly exposed conditions, and completion photographs. A useful closing record explains what changed without claiming that a neat appearance proves every original concern has been resolved.
Practical checklist
- Use location IDs consistently across notes and images.
- Separate observation, history, and interpretation.
- Retain original files and product revisions.
- Record repair decisions and unresolved items.
Worked example
Hypothetical example: three people report a loose board at different times. A shared location ID shows that two reports concern the same board and one concerns a neighboring connection, allowing the assessor to investigate the correct scope.
Limits of this guide
Documentation supports an assessment; it does not replace one. Records cannot establish hidden condition or capacity without appropriate evidence. Avoid photo-based declarations of safety and avoid assigning responsibility before the facts support that conclusion.
Continue the decision
Describe a crack before deciding what it means
Document a loose connection before reaching for a driver
Choose repair or replacement with an explicit decision record
Start an investigation