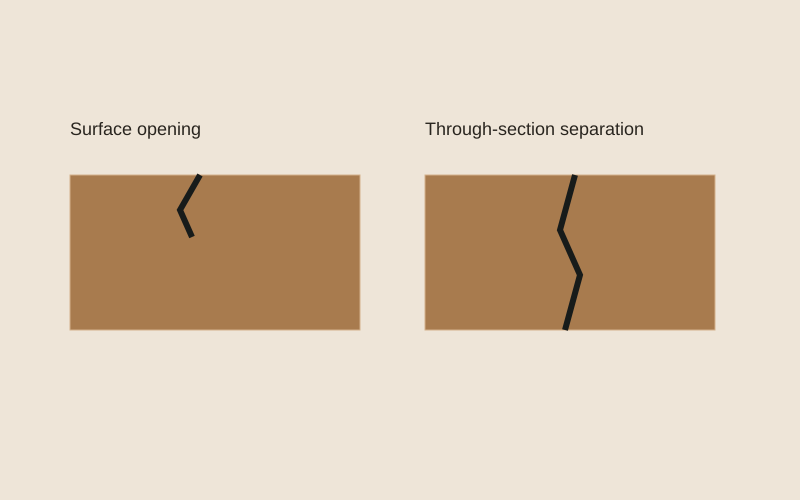
- A visible surface opening does not reveal its hidden depth.
- A through-section separation describes different geometry, not a photograph-based diagnosis.
- Professional inspection may be needed to determine depth and consequences; no safety threshold is shown.
Use descriptive language first
Record where the opening begins, its direction relative to the grain, and which accessible faces show it. Words such as check and split can carry different assumptions in casual conversation. Start with a description another observer can verify, then let the applicable grading, product, or assessment terminology define the category. Do not infer depth from a dark line in a photo.
Create a location record
Give the board or member an identifier and place it on a simple plan. Photograph the entire piece, the affected region, and a close view with a scale. Include nearby ends, fasteners, supports, and joints where accessible. Record the date and whether the surface is wet, coated, recently cleaned, or otherwise different from earlier photographs.
Investigate context without selecting a cause
Collect installation date, storage history, weather events, product identity, and reports of change. USDA's drying guidance discusses dimensional changes associated with moisture control. That background makes moisture history relevant, but it does not prove why this particular opening occurred. Keep suspected explanations in a separate column from observed features and documented events.
Monitor only where appropriate
If the responsible assessor considers monitoring appropriate, repeat photographs from the same positions and retain the original files. Record the method used for any measurements and avoid claiming precision the tool cannot provide. Do not load, pry, or force the opening to learn more. Monitoring is not a substitute for assessment when the piece has a structural function or movement raises a capacity concern.
Make a useful referral
Send the assessor the location map, labeled photos, chronology, product information, and specific question. Ask what additional access or measurements would change the decision. A focused record is more useful than requesting a verdict from one close-up. Preserve the piece and surrounding evidence until the repair scope and any sampling needs have been established.
Practical checklist
- Describe accessible features before naming the defect.
- Show the whole piece and nearby connections.
- Separate suspected causes from documented history.
- Use an assessor-approved plan for further investigation.
Worked example
Hypothetical example: a dark line appears beside an end fastener. The owner records that location and photographs the board end, but leaves depth and structural significance unresolved for an on-site assessment instead of labeling it harmless checking.
Limits of this guide
A photograph cannot establish crack depth, residual capacity, or safe continued use. No universal crack-width threshold is supplied. Terminology and acceptance depend on the product, location, function, and applicable assessment criteria.
Continue the decision
Create an evidence record that survives the repair
Build a moisture investigation around locations and repeat readings
Choose repair or replacement with an explicit decision record
Start an investigation